Server Backups
VirtFusion supports user level backups. The current implementation supports on demand and scheduled.
Configuring a backup server in VirtFusion
From the admin area navigate to Backups -> Backup Storage then click the Add Storage button.
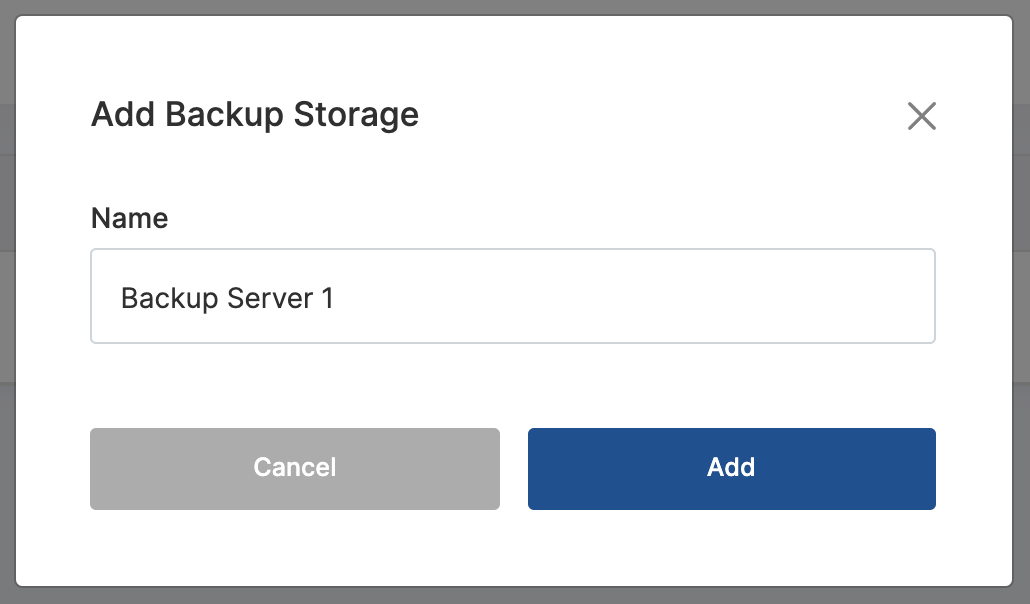
Give the backup server a name (it can be changed later) and click Add. There may be a slight delay while the system
generates a unique key pair.
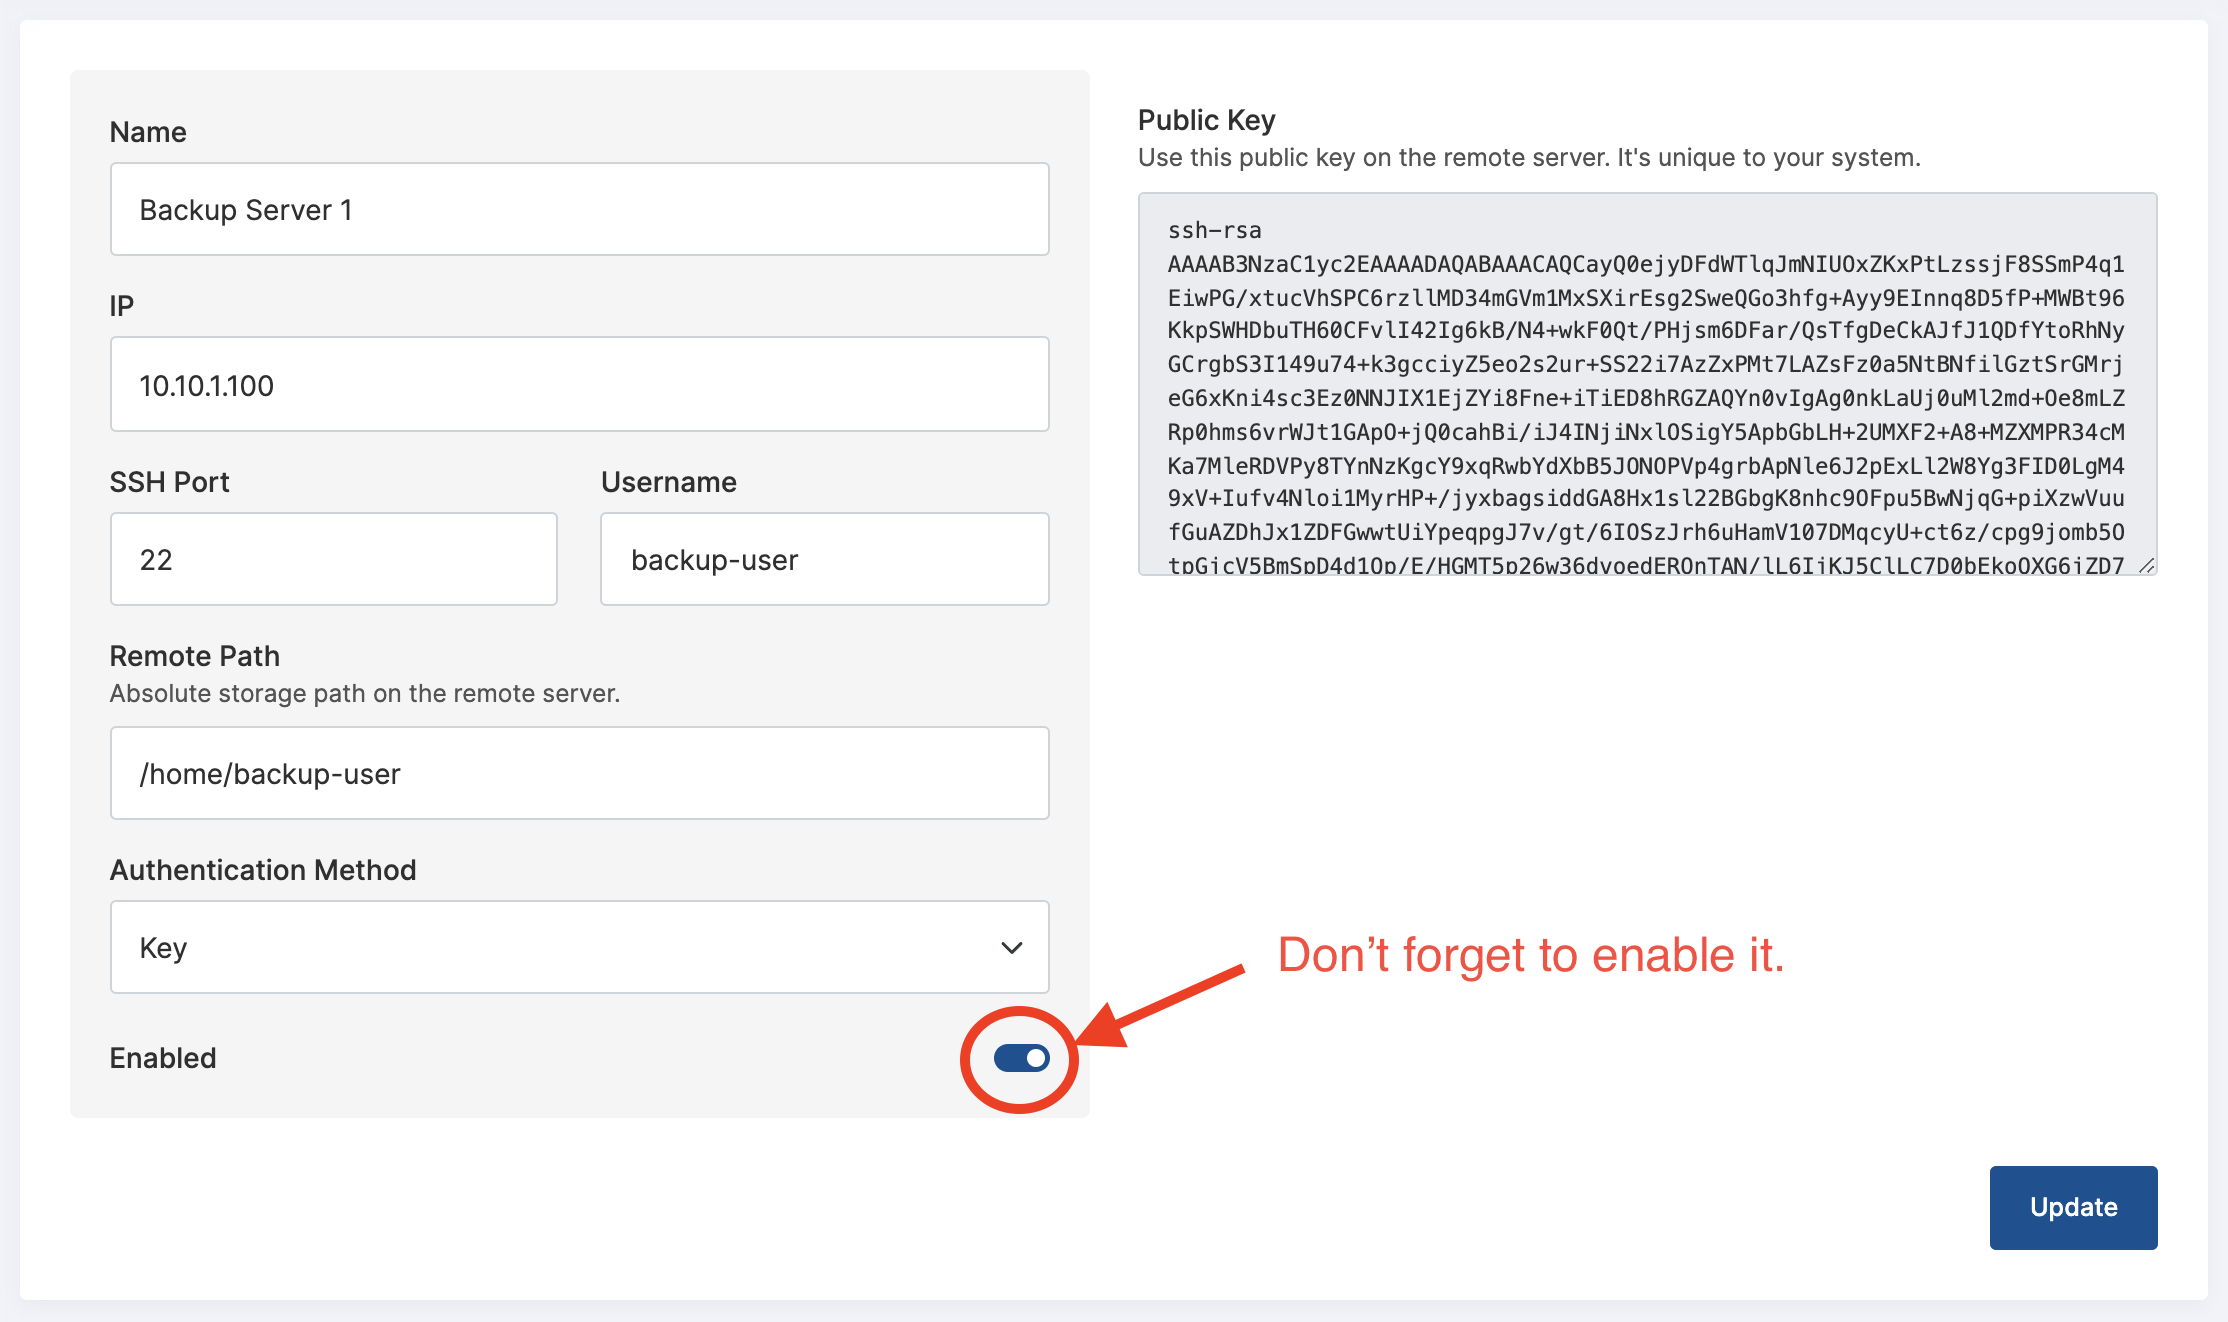
Fill in all the information on the next screen and make a copy of the public key. Then click update.
On the same page, Configure the hypervisor groups or hypervisors that can use this backup server to store backups. Then
click update.

It's also worth noting that hypervisors also have a setting that will define how they choose backup servers to use. The
default is Directly assigned storage only.

Configuring the backup server
Now you've added a backup server in VirtFusion, you will need to make sure the following tasks are completed on the remote backup server:
- Make sure the specified unix user is created
- Add the pre-generated public key for that user (authorized keys)
- Make sure rsync is installed
Adding a backup plan
From the admin area navigate to Backups -> Server Backup Plan then click the Create Plan button.
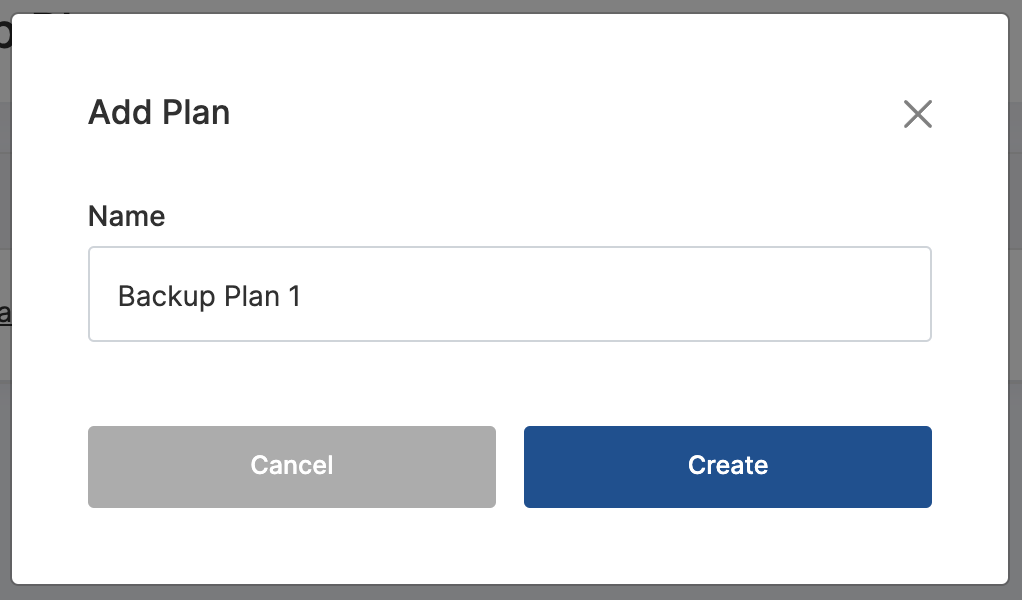
Give the plan a name (it can be changed later) and click Create.
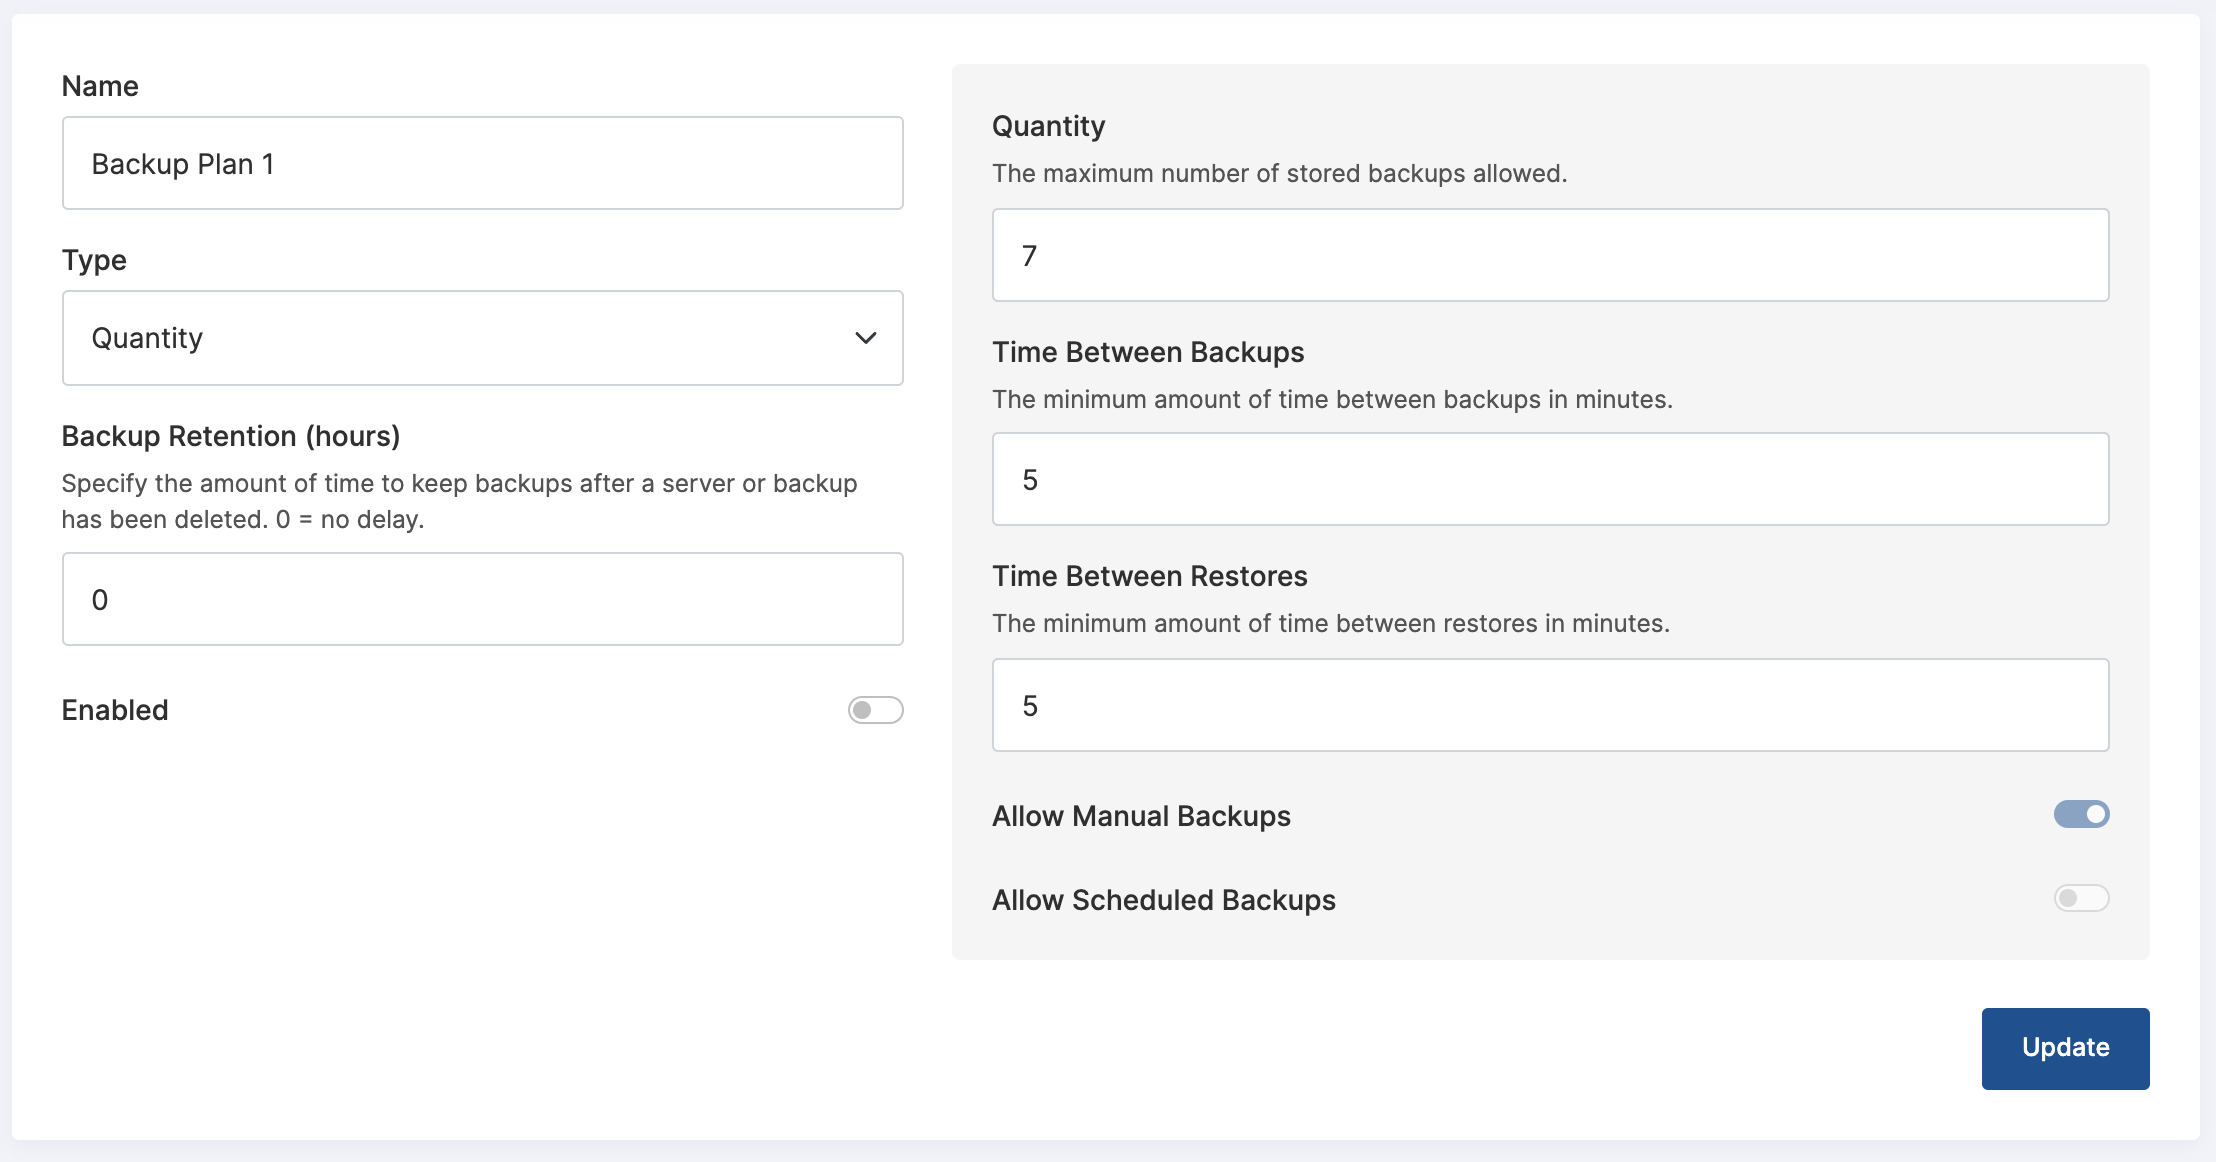
Fill in all the information on the next screen. Again, don't forget to enable it.
Assign a backup plan to a server package
Edit your server packages (Resources -> Server Packages) and assign the backup plan.

Assign a backup plan to server
You may need to assign a backup plan to a server or edit the backup plan it uses. You can do this by selecting the server in the admin area and viewing the Backups pane.

Debugging
Error -> Failed to login on the SSH2 check
This error indicates that either the control server or the hypervisor is unable to complete a basic SSH connectivity check to the backup server. Please check firewall rules, routing, and general network connectivity between the relevant host and the backup server.